In summary:
- To make a patio usable at -5°C, you must create an engineered “heat envelope,” not just add heat.
- Electric infrared heaters are superior as they heat people and objects directly (radiant efficiency), unlike gas heaters that waste energy heating the cold air.
- Strategic wind protection using glass walls or screens is non-negotiable to retain warmth.
- A full system-wide winterization approach, including plumbing and appliances, is critical to prevent costly damage.
- Material choices for flooring and structures are key for safety (slip resistance) and long-term durability against Canadian freeze-thaw cycles.
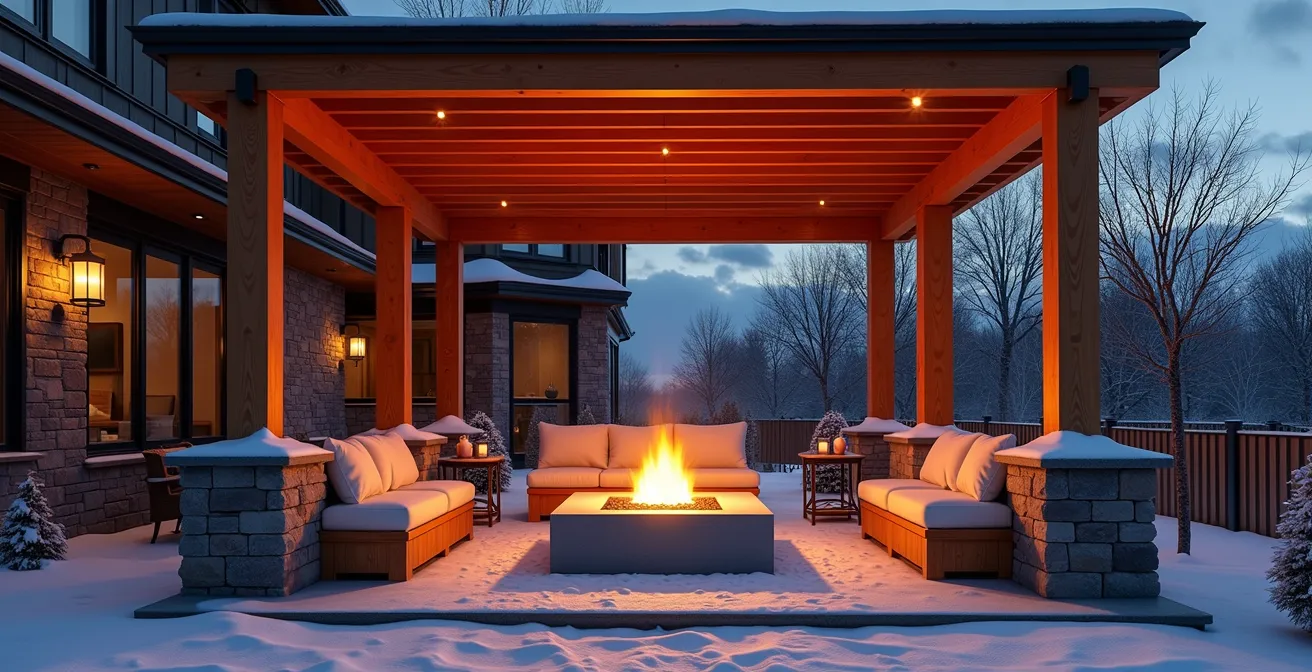
That beautiful covered patio, a major investment in your home’s living space, sits dormant for half the year under a blanket of Canadian snow. You imagine hosting a magical Christmas party out there, surrounded by twinkling lights and warm friends, but the biting cold makes it seem impossible. Many homeowners try a common fix: a tall propane heater glowing in a corner, with guests huddled in parkas, or a pile of blankets that do little against a sub-zero wind chill. These solutions often lead to disappointment, as they fail to create genuine, lasting comfort.
These conventional methods fight a losing battle against the cold because they focus on a flawed principle: trying to heat the air. But what if the secret to a truly usable winter patio wasn’t about brute-force heating, but about smart, strategic engineering? The key is to stop thinking about heating a space and start thinking about creating a ‘heat envelope’. This is a contained, comfortable zone where warmth is generated efficiently and retained precisely where your guests are sitting. It’s a system that transforms a cold, exposed area into a functional and cozy extension of your home.
This guide will walk you through the engineering principles of creating that perfect winter patio. We’ll deconstruct the physics of heating, showing you why some technologies are vastly superior in our climate. We will explore how to build the ‘walls’ of your heat envelope, winterize every component of your outdoor living space from faucets to flooring, and make structural choices that will withstand the harshest Canadian winters for years to come. By the end, you’ll have a clear blueprint for maximizing your outdoor investment, year-round.
This article provides a comprehensive roadmap for transforming your patio into a four-season oasis. Below is a summary of the key systems and considerations we will explore to achieve this goal.
Summary: A Canadian Homeowner’s Guide to Four-Season Patio Comfort
- Electric infrared vs Gas fire pit: which actually warms the people?
- How to use glass walls or screens to stop the wind chill factor?
- Can you leave your outdoor fridge and BBQ outside all winter?
- The plumbing error in outdoor kitchens that cracks faucets in November
- Which patio materials aren’t lethal skating rinks when wet or frosty?
- Can you realistically visit a 3-season cottage at Christmas with space heaters?
- The “settlement month” shock: why equal billing can lead to a massive surprise debt
- Aluminum vs Cedar: which pergola material withstands Canadian weathering better?
Electric infrared vs Gas fire pit: which actually warms the people?
The single most important decision in creating your heat envelope is choosing the right technology. The common choice, a gas fire pit or mushroom-style propane heater, relies on convection—heating the surrounding air. In a cold, open Canadian environment, this is incredibly inefficient. The heated air rises and is immediately whisked away by the slightest breeze, wasting energy and money while leaving your guests cold. The solution lies in superior radiant efficiency.
Electric infrared heaters work like the sun. They emit infrared waves that travel through the air without heating it, only releasing their energy as warmth when they strike a solid object—like your family, your furniture, or the floor. This means you are heating people directly, creating a powerful sense of comfort even when the air temperature is low. This targeted approach is not only more effective but also dramatically more economical, especially in windy conditions where gas heat is rendered almost useless.
As the image above illustrates, the heat from an infrared unit is focused and directional, whereas the heat from a fire pit dissipates quickly into the cold air. For a homeowner looking for reliable performance and cost control, the choice is clear. While a gas fire pit offers ambiance, it is not a primary heating solution for a -5°C environment. The real workhorse is a properly installed electric infrared system.
Case Study: The All-Season Canadian BBQer
One Canadian homeowner highlights the power of combining an enclosure with a powerful heat source. They successfully get their enclosed patio to a comfortable 24°C (75°F) when it’s as cold as -12°C (10°F) outside. Their unconventional but effective primary heat source is a 65,000 BTU natural gas BBQ. This demonstrates a key principle: trapping heat, even from an existing appliance, within an enclosed space is far more effective than any open-air heating attempt.
The operating costs further solidify the advantage of infrared technology. The following comparison, based on Canadian utility rates, reveals a stark difference in long-term expenses.
| Heater Type | Hourly Operating Cost (CAD) | Coverage Area | Efficiency in Wind |
|---|---|---|---|
| Electric Infrared (1500W) | $0.20-$0.60 | 100-150 sq ft | Excellent – heats objects directly |
| Propane Fire Pit (40,000 BTU) | $3.00-$5.00 | 200-300 sq ft | Poor – heat dissipates |
| Natural Gas Fire Pit | $1.50-$2.00 | 200-300 sq ft | Poor – heat dissipates |
Ultimately, for consistent and cost-effective warmth in a Canadian winter, electric infrared heating is the engineered solution. It forms the core of a successful heat envelope by delivering warmth precisely where it’s needed.
How to use glass walls or screens to stop the wind chill factor?
Once you’ve established an efficient radiant heat source, the next step is to protect it. The most significant enemy of outdoor comfort in Canada is wind chill, which can make -5°C feel like -15°C. No heater, no matter how powerful, can overcome the constant stripping of warmth caused by moving air. This is where constructing the ‘walls’ of your heat envelope becomes critical, using physical barriers like glass walls, vinyl screens, or accordion doors.
By enclosing at least two or three sides of your covered patio, particularly the side facing the prevailing winter winds, you create a pocket of still air. This allows the infrared heaters to work at maximum efficiency, as the radiant warmth absorbed by people and surfaces is not immediately stolen by the wind. This enclosure doesn’t need to be a permanent, fully insulated four-season room. Modern solutions like retractable glass panel systems or heavy-duty vinyl screens offer the flexibility to open the space in the summer and seal it for winter festivities. Remember that any permanent roof structure must be designed to handle significant weight; for instance, some sections of the National Building Code recommend a ‘basic’ roof snow load of 0.8 times the ground snow load, a non-trivial structural demand.
The goal is to achieve thermal integrity—a space that resists thermal loss. Even a partial enclosure dramatically improves comfort and heater performance. When planning this, consider the full system, from materials rated for Canadian freeze-thaw cycles to the strategic placement of openings to avoid creating wind tunnels. It’s an investment that pays dividends in usable square footage throughout the year.
Your Action Plan: Maximizing Wind Protection
- Add screens or wind shields such as glass accordion doors to outdoor areas to help lock-in the heat generated from outdoor heaters.
- Position enclosures perpendicular to prevailing winds for maximum protection.
- Choose tempered glass or polycarbonate materials rated for Canadian freeze-thaw cycles.
- Install retractable systems for flexibility between seasons.
- Create overlapping wind barriers to prevent tunnel effects at entry points.
By transforming your patio from an open-air deck to a semi-enclosed outdoor room, you give your heating system a fighting chance, making a comfortable Christmas gathering a genuine possibility.
Can you leave your outdoor fridge and BBQ outside all winter?
Creating a functional winter patio goes beyond heating and shelter; it requires a system-wide winterization mindset. Your expensive outdoor kitchen appliances, such as refrigerators and grills, are not automatically designed to withstand the rigours of a Canadian deep freeze. Leaving them unprotected can lead to costly damage and a frustrating start to the spring season.
Outdoor refrigerators and ice makers are particularly vulnerable. Most are rated for a minimum ambient temperature, often well above freezing. In sub-zero conditions, their compressors can struggle, lubricants can thicken, and internal components can fail. Unless your fridge is explicitly rated for four-season Canadian use (a rare and expensive feature), it must be properly winterized: emptied, cleaned, unplugged, and its doors propped open to prevent mould.
Barbecues present a different set of challenges depending on their fuel source. As Canadian BBQ experts have noted, the approach to winterization is not one-size-fits-all. A natural gas BBQ with a permanently installed gas line can often be used throughout the winter with minimal issue, as the gas supply is consistent. Propane, however, is a different story. In deep cold, a propane tank loses pressure, which can lead to a weak, sputtering flame or no flame at all. For the avid winter griller, this means using an insulated tank blanket to maintain adequate pressure or storing tanks in a warmer (but always outdoor and well-ventilated) location until use.
Case Study: The Proactive BBQ Maintenance Protocol
Barbecues Galore, a Canadian expert since 1979, emphasizes that fuel type dictates winter strategy. Their experience shows that while natural gas units are reliable in the cold, propane BBQs require insulated tank blankets to function in sub-zero temperatures. Their service data is compelling: taking these simple preventative measures prevents an estimated 90% of common springtime repair calls, saving homeowners significant money and hassle.
Forgetting these crucial steps is a common mistake. Protecting your appliances is just as important as protecting your guests from the cold, ensuring your outdoor kitchen’s longevity and readiness for that first spring barbecue.
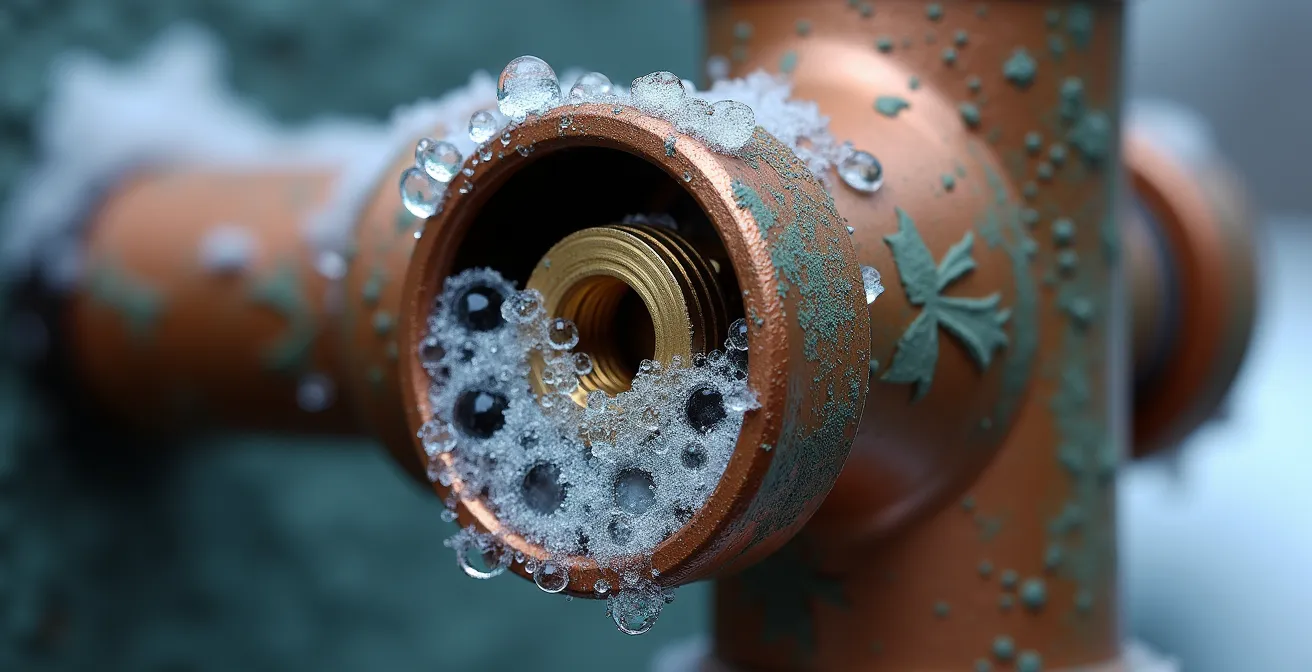
The plumbing error in outdoor kitchens that cracks faucets in November
Of all the potential winter disasters on a patio, a burst pipe is one of the most destructive and expensive. The most common plumbing error in Canadian outdoor kitchens is the failure to properly winterize water lines, particularly the faucets. Water left in a standard outdoor faucet or its supply pipe will freeze, expand with incredible force, and crack the fixture or the pipe inside the wall, leading to a major flood when things thaw.
The professional solution is to ensure all outdoor water fixtures are frost-proof sillcocks. Unlike a standard faucet where the valve is outside, a frost-proof sillcock has a long stem that places the actual water shut-off valve deep inside the heated part of your home. When you turn the handle outside, you’re closing a valve 15-30 cm inside the wall, allowing the exterior portion of the pipe to drain completely. However, simply having one is not enough; it must be installed correctly with a slight downward pitch to ensure it drains by gravity.
Even with frost-proof fixtures, a strict winterization protocol is mandatory. This involves shutting off the interior water supply valve leading to the outdoor kitchen, then opening all outdoor faucets to let every drop of residual water drain out. Forgetting this step, even with a frost-proof tap, can trap water between the interior valve and the exterior faucet, leading to a burst pipe. Furthermore, the P-trap under your outdoor sink contains water by design to block sewer gases. This water will freeze and can crack the trap. Pouring a cup of non-toxic, plumbing-grade (pink RV-type) antifreeze into the drain is a simple, essential step to protect it.
The timeline for this is crucial and location-dependent. In a city like Calgary, plumbing should be winterized by mid-October, while a milder climate like Vancouver might allow until late November. Ignoring this simple, 15-minute task can lead to thousands of dollars in water damage repairs. It is the definition of preventative maintenance.
This is a non-negotiable part of system-wide winterization. A beautiful, warm patio is worthless if it’s flooded come spring because of a simple, forgotten valve.
Which patio materials aren’t lethal skating rinks when wet or frosty?
Creating a safe and comfortable winter patio involves looking down as well as up. The material underfoot is a critical component of your heat envelope and, more importantly, your family’s safety. A surface that is perfectly fine in July can become a treacherous, icy hazard at -5°C. When selecting patio materials for a four-season Canadian climate, wet and frosty slip resistance should be a primary concern.
Many popular high-end finishes, like sealed stamped concrete or certain types of smooth natural stone, can become extremely slippery when a thin, often invisible, layer of frost or moisture is present. The best materials for winter use have an inherent texture. Broom-finished concrete offers excellent traction, as does flamed granite, which has a rough, matte surface created by heat treatment. Certain composite decking materials, like Trex Transcend, are also engineered with a grain pattern that maintains good grip in wet conditions. When choosing pavers, look for those with a textured, non-glazed finish.
This decision also impacts your de-icing strategy. Common rock salt (sodium chloride) is highly corrosive and can cause spalling and degradation on concrete and certain stone pavers. A safer alternative is calcium magnesium acetate (CMA), which is less damaging to materials and surrounding vegetation. The following table, based on building code standards and material science, provides a clear guide for Canadian homeowners.
As this slip resistance comparison illustrates, not all surfaces are created equal when it comes to winter safety. Making the right choice upfront prevents accidents and material damage.
| Material | Dry Slip Rating | Wet/Frost Rating | De-icer Compatibility |
|---|---|---|---|
| Broom-finished Concrete | Excellent | Good | Damaged by rock salt |
| Stamped Concrete (sealed) | Good | Poor-Fair | Sealant damaged by salt |
| Trex Transcend Decking | Excellent | Good | CMA safe |
| Flamed Granite | Excellent | Excellent | All types safe |
| Porcelain Pavers | Good | Fair | CMA recommended |
ROI Analysis: The Ultimate Winter-Proof Floor
For homeowners making a significant investment, the ultimate solution is a hydronic snow-melt system installed beneath the patio pavers. An analysis of installations in Nova Scotia shows that while the initial investment is significant ($15-25 per square foot), the system can have a 5-7 year payback period. This calculation factors in the complete elimination of snow removal labour, potential reductions in liability insurance, and zero damage to patio materials from corrosive salts, making it a compelling long-term value proposition.
Choosing the right material is an investment in both safety and the longevity of your patio, ensuring it remains a welcoming space, not a winter hazard.
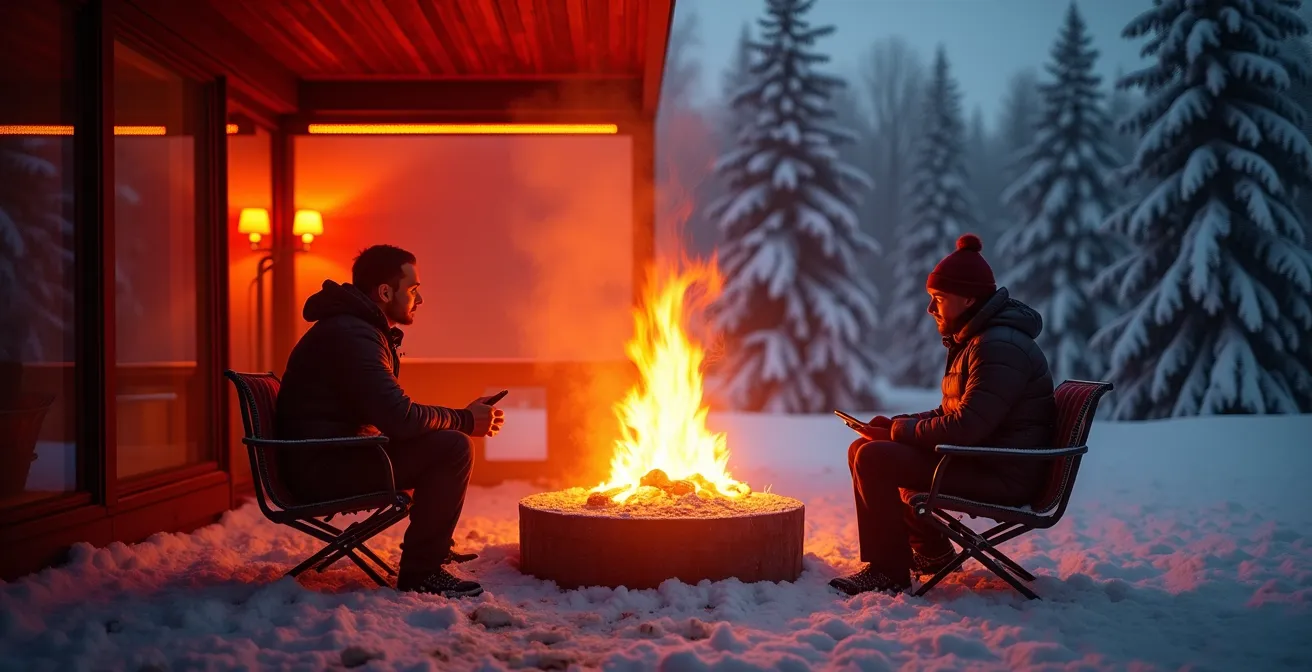
Can you realistically visit a 3-season cottage at Christmas with space heaters?
Applying the heat envelope principles to a classic Canadian 3-season cottage presents a unique challenge. Unlike a well-built home patio, cottages often have minimal insulation, single-pane windows, and a limited electrical supply. Simply plugging in multiple high-wattage space heaters is often a recipe for a tripped breaker and a cold, frustrating weekend.
Success requires a more strategic, zoned approach. First, conduct a power budget. A typical cottage may only have 60-amp or 100-amp service, and a standard electrical circuit is 15 amps. A single common space heater can draw 12.5 amps (or 1500 watts), leaving little room for lights, a coffee maker, or a water pump on the same circuit. You must map out your circuits and allocate your heating resources carefully to avoid overloads.
The next step is aggressive leak sealing. Before even turning on a heater, your priority should be to block every draft. This means checking for gaps around window-mounted air conditioners, poorly sealed crawlspace access hatches, and open chimney dampers. Every cubic foot of cold air you prevent from entering is one less you have to heat. Finally, instead of trying to heat the entire cottage, focus your efforts. Use your most powerful and efficient heaters (ideally, electric infrared heaters that can produce 1500W of heat instantly) in the main living area where everyone gathers. Let unoccupied bedrooms remain cool, and supplement personal comfort with lower-wattage solutions like heated throw blankets (often just 50-100 watts), layered rugs on cold floors, and thermal curtains over drafty windows. This layered, zoned strategy makes a Christmas cottage visit feasible, but it requires planning and realistic expectations.
While you may not achieve the same level of comfort as a winterized home patio, a well-planned strategy can absolutely transform a chilly cottage into a cozy and memorable holiday retreat.
The “settlement month” shock: why equal billing can lead to a massive surprise debt
You’ve successfully engineered your perfect winter patio. You’ve hosted parties, enjoyed crisp evenings, and your infrared heaters have performed flawlessly. Then, a few months later, a massive bill from your utility provider arrives—the “settlement month” shock. This is a rude awakening for many Canadian homeowners who use equalized billing plans for their electricity or natural gas.
Equal billing is designed to smooth out seasonal consumption spikes by charging you an estimated average amount each month. For 11 months, you pay this predictable fee. However, in the 12th month—the settlement or “true-up” month—the utility reconciles your actual usage against what you’ve paid. If your winter heating project caused a significant spike in consumption, you will be billed for the entire shortfall in one lump sum. Running a couple of typical electric infrared patio heaters that operate at 1,500 watts each for several hours a night can add up quickly.
The cost impact varies dramatically across Canada. Electricity rates in Quebec are among the lowest, while peak-hour, time-of-use rates in other provinces can be substantially higher. For a homeowner on an equal billing plan, it’s easy to lose track of this accumulating debt until the final bill arrives, which can amount to hundreds or even over a thousand dollars. To avoid this shock, it’s crucial to monitor your actual consumption through your utility’s online portal, even if you’re on an equal plan. Adjust your budget accordingly or contact your provider to have your monthly payments increased to better reflect your new usage patterns.
Case Study: The Reality of Ontario’s Electricity Costs
The financial risk is not theoretical. As highlighted by one member on a Canadian personal finance forum, electricity costs can be a major deterrent. With some peak time-of-use rates in Ontario reaching as high as 35 cents per kilowatt-hour, the user noted they were “not interested in heating the outside air with electricity.” This underscores the importance of both using efficient radiant technology and actively monitoring your consumption to avoid a financially painful settlement bill, especially in provinces with higher variable rates.
A warm winter patio is a wonderful luxury, but it must be a planned expense. Proactive monitoring ensures your enjoyment isn’t soured by a preventable financial shock down the road.
Key takeaways
- True winter patio comfort in Canada requires an engineered ‘heat envelope’, not just a heater.
- Electric infrared heaters are vastly more efficient than gas because they heat people directly (radiant heat).
- A full system winterization—addressing plumbing, appliances, and materials—is essential to prevent costly damage.
Aluminum vs Cedar: which pergola material withstands Canadian weathering better?
The ‘roof’ of your heat envelope, the covered patio structure or pergola itself, is your first line of defense against the elements and the mounting point for your heating system. The choice of material is a long-term decision that directly impacts durability, maintenance, and structural integrity in the face of Canadian weather, particularly the punishing cycles of freezing and thawing.
For decades, Western Red Cedar has been a popular choice for its natural beauty and rot resistance. However, wood is susceptible to the stresses of a Canadian climate. It absorbs moisture, which can freeze and expand, leading to checking (cracking) and splitting over time. It also requires regular maintenance—staining or sealing every 2-3 years—to maintain its appearance and longevity. While it can support heaters, heavy commercial-grade units may require additional structural reinforcement.
Modern powder-coated aluminum offers a compelling, maintenance-free alternative. It is dimensionally stable, meaning it will not warp, crack, or split due to moisture or temperature changes. Its resistance to freeze-thaw cycles is excellent. Engineered aluminum structures are also designed to handle specific snow loads and provide ideal, robust mounting points for heavy infrared heaters and lighting systems. While the initial cost is typically higher than wood, the total cost of ownership over 10-15 years can be lower when factoring in the complete absence of maintenance.
The decision involves a trade-off between upfront cost, aesthetics, and long-term performance. The following comparison provides a clear overview for homeowners planning a structure built to last.
This comparative data on pergola materials highlights the long-term advantages of engineered solutions in a harsh climate, aligning with the overall principle of creating a durable, reliable outdoor space.
| Factor | Aluminum | Western Red Cedar | Pressure-Treated Wood |
|---|---|---|---|
| Initial Cost | High ($60-100/sq ft) | Medium ($40-70/sq ft) | Low ($20-40/sq ft) |
| Freeze-Thaw Resistance | Excellent | Fair (checking/splitting risk) | Good |
| Snow Load Capacity | Excellent (engineered) | Good (requires reinforcement) | Good |
| Maintenance Cycle | None required | Every 2-3 years | Every 3-4 years |
| Heater Mounting | Ideal for heavy fixtures | May need reinforcement | Adequate with proper fasteners |
By selecting a material with superior thermal integrity and structural stability, you ensure the longevity and safety of your entire winter patio system, completing your engineered heat envelope from the ground up.