Switching to a native Canadian garden transforms your high-maintenance lawn into a low-cost, self-sufficient ecological asset.
- Dramatically reduces water consumption and associated costs after the first year of establishment.
- Significantly cuts down on annual labour, eliminating the need for constant mowing, fertilizing, and winter wrapping.
Recommendation: Start by replacing a small section of your lawn with native groundcover or perennials suited to your specific Canadian region to see the benefits firsthand.
For many Canadian homeowners, the conventional lawn is a source of quiet frustration. It demands constant mowing, voracious watering during hot summers, and a steady diet of fertilizers, all while offering little back to local wildlife. The default solution is often to double down: more watering, more weed control, more work. This cycle consumes not only our weekends but also a significant amount of water and money.
The conversation around gardening is often limited to aesthetics or simple “bee-friendly” lists. While important, this overlooks the powerful, underlying system at play. What if the most effective way to create a beautiful, low-maintenance yard wasn’t about fighting nature, but about embracing a strategy of horticultural intelligence? What if the key to a resilient and affordable landscape was already growing just beyond our manicured fence lines?
This is the core principle of native plant gardening. It’s a shift from imposing a landscape on the environment to collaborating with it. This approach isn’t about letting your yard run wild; it’s about making deliberate, informed choices that leverage the natural resilience of plants adapted to your specific Canadian climate. It’s about ecological asset management, turning your property into a system that actively saves you time and money.
This guide will walk you through the practical strategies for making this transition. We’ll explore how to choose the right plants, how to manage common challenges from neighbourhood aesthetics to invasive species, and how to redesign your yard to be a beautiful, functional, and financially savvy ecosystem.
Summary: A Guide to Intelligent Canadian Gardening
- Milkweed and Goldenrod: Attracting Butterflies Without Angering the Neighbors
- How to Kill Your Grass and Replace It With Clover or Native Groundcover?
- Norway Maple vs Sugar Maple: How to Spot the Invaders in Your Backyard?
- Why “Nativars” at Big-Box Stores Might Not Have the Same Ecological Value
- Which Native Perennials Survive a Hot July Without a Drop of Irrigation?
- FireSmart Principles: Cutting Trees to Save Your House vs Keeping the Forest Look
- How to Wrap Cedars and Boxwoods to Prevent Winter Burn Without Looking Ugly?
- How to Install a Rain Garden or Bioswale to Manage Heavy Downpours?
Milkweed and Goldenrod: Attracting Butterflies Without Angering the Neighbors
Embracing native plants like Milkweed (Asclepias) and Goldenrod (Solidago) is a fantastic way to support essential pollinators, including the iconic Monarch butterfly. However, that “wild” look can be a tough sell in a neighborhood of pristine lawns. The fear of a yard being perceived as “weedy” or “unkept” is a major barrier for many aspiring eco-conscious gardeners. The secret isn’t to abandon these ecological powerhouses, but to practice horticultural intelligence by framing them within intentional design cues.
The concept of “Cues to Care” is crucial here. These are signals that show your landscape is cared for, not neglected. A cleanly mown border around a native plant bed, decorative signage identifying the species, or a well-defined pathway tells everyone that this is a deliberate choice. By placing taller, more sprawling species like Goldenrod towards the back and using tidier, more compact natives like Pearly Everlasting (Anaphalis margaritacea) at the forefront, you create a layered, intentional look. This strategy demonstrates care and purpose, turning a potential point of conflict into a conversation starter about local biodiversity.
It’s also vital to be informed. Many Canadian municipalities are updating their property standards and weed by-laws to be more friendly to naturalized gardens, but it’s essential to research your local regulations. Joining or starting a community pollinator pathway project can also build collective support, making your native garden part of a celebrated neighbourhood initiative, as seen in projects like the Leaside Memorial Community Gardens in Toronto, which successfully integrated hardy native plants into public spaces.
Your Action Plan: The Good Neighbour Native Plant Strategy
- Create Visible ‘Cues to Care’: Maintain clean, mown borders (4-6 inch strips) around all native plantings to signal intentional design.
- Install Plant Signage: Use decorative signs to identify native species by their common and botanical names, educating passersby and showing purpose.
- Start with Tidy Natives: In highly visible front-facing areas, begin with well-behaved species like Pearly Everlasting or Wild Bergamot (Monarda fistulosa).
- Place ‘Messier’ Species Strategically: Position potentially unruly plants like Goldenrod or large grasses toward the back of garden beds where their wild form is an asset.
- Research Local By-Laws: Proactively check your municipality’s updated regulations on native plants versus legally defined “noxious weeds.”
- Join a Community Project: Get involved in a local pollinator pathway or community garden project to build neighbourhood buy-in and shared enthusiasm.
How to Kill Your Grass and Replace It With Clover or Native Groundcover?
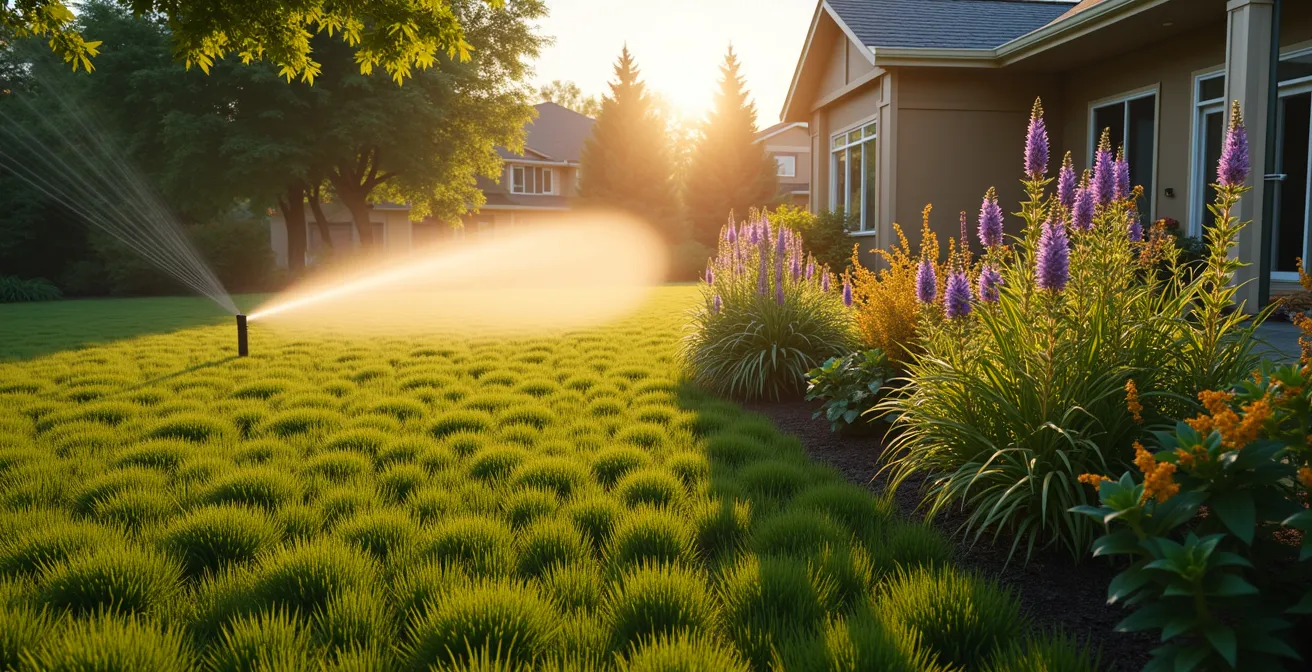
The single most impactful step towards a low-maintenance yard is replacing the turfgrass lawn. A traditional lawn is a resource-intensive monoculture, but converting it can seem daunting. The most effective and eco-friendly method is sheet mulching. This process involves layering cardboard or several layers of newspaper directly on top of the grass (after mowing it short), which blocks sunlight and suffocates the lawn and most weeds without the need for herbicides. Wet the cardboard thoroughly and cover it with a thick layer (4-6 inches) of mulch or compost. You can plant native groundcover plugs directly into the mulch by cutting holes through the cardboard.
While the initial installation cost for native groundcover might be slightly higher than traditional sod, the long-term savings are substantial. Native groundcovers like Wild Strawberry (Fragaria virginiana) or low-growing sedges require minimal to no watering after their first year of establishment. This translates directly into lower water bills and a drastic reduction in maintenance hours—no more weekly mowing, fertilizing, or aerating.
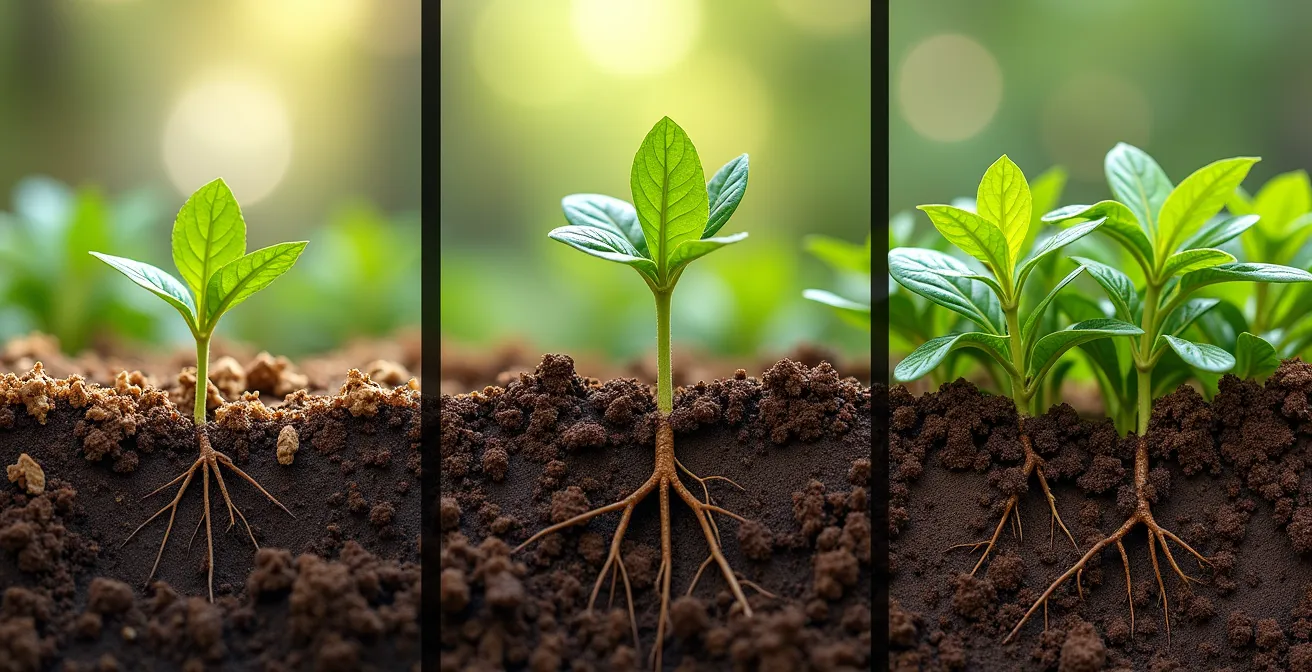
This illustration provides a visual timeline of what to expect during a lawn conversion. It shows the progression from a mulched area with new seedlings to a fully established, dense native groundcover over a few seasons.
The long-term financial argument is compelling. A native groundcover landscape is not just an ecological choice; it’s an investment that pays for itself through savings on water and labour, making it a key component of smart ecological asset management.
The following table breaks down the significant long-term financial benefits. Based on a cost analysis from a Canadian municipal context, the return on investment becomes clear within just a few years.
| Cost Factor | Traditional Turf Lawn | Native Groundcover |
|---|---|---|
| Initial Installation | $2-4 per sq ft | $3-5 per sq ft |
| Annual Water Usage | 1 inch per week | Minimal after establishment |
| Annual Water Bill Impact | +$300-500 | +$50-100 |
| Maintenance Hours/Year | 40-60 hours | 10-15 hours |
| 5-Year Total Cost | $3,500-5,500 | $1,500-2,000 |
Norway Maple vs Sugar Maple: How to Spot the Invaders in Your Backyard?
Not all maple trees are created equal, and one of the most common invasive species in Canadian urban and suburban landscapes is the Norway Maple (Acer platanoides). Often sold or planted for its fast growth and dense shade, it creates a host of ecological problems. Its shallow, dense root system outcompetes nearly all understory plants, creating a “dead zone” beneath it, and can damage sidewalks and foundations. Its dense canopy prevents sunlight from reaching the ground, further suppressing the growth of native wildflowers and shrubs.
So, how do you tell it apart from our native, iconic Sugar Maple (Acer saccharum)? Here are the key identifiers:
- The Leaf Stalk (Petiole) Test: Break a leaf off at its base. If the sap that emerges is milky white, it’s an invasive Norway Maple. If the sap is clear, it’s a native maple like the Sugar Maple.
- Leaf Shape: Norway Maple leaves have 5 to 7 sharp, pointed lobes with “thread-like” tips. Sugar Maple leaves have 5 lobes with smoother, more rounded tips.
- Bark: The bark of a mature Norway Maple has tight, crisscrossing ridges that look like a diamond pattern. A mature Sugar Maple has thicker, more irregular vertical plates and furrows, often looking shaggy.
- Fall Colour: Sugar Maples are famous for their brilliant orange, red, and yellow fall display. Norway Maples often turn a dull, undistinguished yellow and hold their leaves much later into the season.
Removing an invasive Norway Maple and replacing it with a native alternative is one of the best things you can do for your property’s biodiversity and long-term health.
Case Study: Toronto’s Tree Replacement Program
Toronto’s urban forestry program offers a powerful example of successful ecological restoration. The city has actively supported homeowners in removing invasive Norway Maples by providing free native tree replacements. This initiative has not only improved local biodiversity and soil health but also resulted in more stable, healthier tree canopies. As a result, participating neighborhoods have seen reduced infrastructure damage from invasive root systems and even an increase in property values due to the enhanced aesthetic and ecological health of their trees.
Why “Nativars” at Big-Box Stores Might Not Have the Same Ecological Value
As you browse the aisles of a large garden centre, you’ll encounter plants that look like natives but have catchy names in quotes, like Echinacea ‘Pink Double Delight’. These are “nativars”—cultivars of native plants that have been selectively bred by horticulturists for specific traits like double flowers, unique colours, or a more compact size. While they may look appealing and are often marketed as native, they can fall short in ecological value.
The problem is that these “improvements” can break the ancient relationships between plants and pollinators. For instance, breeding for “double flowers” often replaces the nectar- and pollen-rich parts of the flower with extra petals, rendering them useless to bees. Changing a flower’s colour from the original species can make it unrecognizable to pollinators that have evolved to seek out a specific hue. Similarly, breeding for pest resistance can mean the plant no longer produces the specific chemical compounds that native caterpillars, like those of the Monarch butterfly, need to survive.
While not all nativars are “bad,” the straight species—the original, wild version of the plant—is always the safest bet for maximizing ecological benefit. Research from the National Wildlife Federation shows that gardens with a high concentration of true native species support a much wider array of specialist birds and insects. In fact, a 70% native plant concentration in gardens supports specialist bird species that have specific resource needs, whereas conventional landscapes host only generalist species.
To ensure you’re getting the real deal, learn to read the plant tags:
- Look for the Latin name: A true native will usually just have the species name (e.g., Echinacea purpurea).
- Watch for cultivar names: Names in single quotes (e.g., ‘Pink Double Delight’) are a dead giveaway for a nativar.
- Check for patents or trademarks: Symbols like PP#, ™, or ® indicate a bred and patented variety.
- Be wary of descriptors: Words like ‘improved’, ‘dwarf’, or ‘compact’ signal human intervention.
- Ask about the source: Reputable native plant nurseries can often tell you the local ecotype or region where their seeds were collected, ensuring the plants are truly adapted to your area.
Which Native Perennials Survive a Hot July Without a Drop of Irrigation?
One of the most significant benefits of a native plant garden is its incredible drought tolerance, a key feature of climate-adapted design. After their first year of establishment, when they need consistent watering to grow deep roots, many Canadian native perennials can thrive through hot, dry summers with little to no supplemental irrigation. This is because they have evolved over millennia to handle the specific conditions of their region, developing extensive root systems that reach far deeper into the soil for moisture than traditional turfgrass or ornamental annuals.
The key is choosing plants native to your specific eco-region. A plant from the wet woodlands of Eastern Canada won’t survive a dry prairie summer, and vice-versa. It’s about matching the right plant to the right place.
This illustration shows a cross-section of a native garden during a heatwave. You can see how the deep, extensive root systems of the native plants tap into lower, moist soil layers, allowing the plants to thrive while the surface remains dry.

Here are some drought-proof all-stars for various Canadian climates:
- For the heavy clay soils of Southern Ontario, Purple Coneflower (Echinacea purpurea) and Blazing Star (Liatris spicata) are excellent choices.
- In the alkaline soils of the Prairies, grasses like Blue Grama (Bouteloua gracilis) and unique flowers like Prairie Smoke (Geum triflorum) are incredibly resilient.
- On the West Coast, with its pattern of wet winters and dry summers, Kinnikinnick (Arctostaphylos uva-ursi) and Oregon Grape (Mahonia aquifolium) are stellar performers.
- In the acidic soils of Eastern Canada’s woodlands, Wild Columbine (Aquilegia canadensis) and the hardy groundcover Canada Anemone (Anemone canadensis) are tough and reliable.
By selecting plants perfectly suited to your local conditions, you’re not just saving water; you’re creating a self-sustaining, resilient garden that works with the Canadian climate, not against it.
FireSmart Principles: Cutting Trees to Save Your House vs Keeping the Forest Look
For Canadians living in or near forested areas, especially in regions like British Columbia and the Boreal Shield, wildfire preparedness is a non-negotiable part of homeownership. The FireSmart Canada program provides principles for landscaping that can dramatically increase a home’s chance of surviving a wildfire. This often creates a perceived conflict: the need to cut back vegetation versus the desire to maintain a natural, “forest look.” However, ecological gardening and FireSmart principles can and should work together.
The core idea is to create defensible space by managing the type and placement of vegetation in zones around your home. The most critical area is Zone 1 (0-10 metres from your house). This zone should be a “non-combustible” area. This means avoiding highly flammable plants like cedar and juniper hedges and instead using well-irrigated, low-growing native groundcovers like Wild Strawberry or fire-resistant native perennials. Trees in this zone should be deciduous (like Trembling Aspen or Paper Birch), as they are less likely to ignite than conifers.
In Zone 2 (10-30 metres from your home), you can have more trees, but they should be thinned and spaced. The goal is to prevent a “crown fire” from jumping from treetop to treetop. Pruning the lower branches of trees (up to 2 metres from the ground) also helps prevent a ground fire from climbing into the canopy. By strategically choosing fire-resistant native species and managing their placement and density, you can maintain a beautiful, biodiverse landscape that is also significantly safer.
This table summarizes key plant choices for fire-prone regions, highlighting the importance of avoiding flammable evergreens close to the home and opting for safer, fire-resistant native alternatives. Using a resource like the Right Tree, Right Place guide from the Canadian Museum of Nature can help you make informed decisions.
| Plant Category | Avoid (High Fire Risk) | Recommended (Fire-Resistant Natives) |
|---|---|---|
| Evergreens | Juniper, Cedar hedges, Pine | Trembling Aspen, Paper Birch |
| Shrubs | Non-native Juniper varieties | Shrubby Cinquefoil, Wild Rose, Snowberry |
| Groundcovers | Ornamental grasses (non-native) | Kinnikinnick, Wild Strawberry |
| Zone 1 (0-10m from home) | All conifers | Deciduous trees, low groundcovers |
| Zone 2 (10-30m) | Dense conifer stands | Spaced deciduous with native shrubs |
How to Wrap Cedars and Boxwoods to Prevent Winter Burn Without Looking Ugly?
The annual ritual of wrapping cedars and boxwoods in burlap is a familiar sight across much of Canada. This task is done to prevent winter burn, a type of desiccation that occurs when evergreen foliage loses water to dry winter winds and sun while the ground is frozen, preventing the roots from absorbing more moisture. While necessary for these non-native or poorly-sited ornamentals, it’s a significant time commitment and often results in unsightly burlap lumps dominating the winter landscape.
The ultimate solution is to design a “no-wrap” garden from the start. This involves choosing native evergreens that are perfectly adapted to your region’s winter conditions. For example, in Eastern Canada, the native Canada Yew (Taxus canadensis) is extremely hardy and requires no protection. In the Prairies, a ground-hugging Creeping Juniper (Juniperus horizontalis) is virtually immune to winter burn. By selecting plants that have evolved to withstand Canadian winters, you eliminate this chore entirely.
If you must wrap existing plants, you can improve the aesthetics. Use natural, earth-toned burlap and secure it with jute twine in a spiral or diamond pattern to create a more sculptural look. You can also build removable wooden screens, placing them only on the south and southwest sides of the shrubs, which are most susceptible to sun and wind. However, the most intelligent long-term strategy is to phase out these high-maintenance plants in favour of native alternatives.
High quality native plants require less water and maintenance, saving time, labour and money.
– Experts at Ontario Nature
When you calculate the true cost of those cedars—factoring in 5 to 10 hours of annual labour for wrapping and unwrapping—the one-time investment in a hardy native replacement becomes a very sensible financial decision.
Key Takeaways
- Design for People and Pollinators: Use “Cues to Care” like mown borders and plant signs to make native gardens look intentional and neighbour-friendly.
- Value Time and Money: Replacing a lawn with native groundcover offers substantial long-term savings on water bills and eliminates dozens of hours of annual maintenance.
- Choose True Natives: Be wary of “nativars” at big-box stores, as modifications to colour or flower shape can make them useless to local wildlife. Always opt for the “straight species” for maximum ecological benefit.
How to Install a Rain Garden or Bioswale to Manage Heavy Downpours?
A truly intelligent landscape does more than just look beautiful; it performs a function. One of the most powerful functions your yard can perform is managing stormwater. As heavy downpours become more common with climate change, many municipal storm systems are overwhelmed, leading to runoff pollution and localized flooding. A rain garden or bioswale is a landscape feature designed to capture, hold, and slowly absorb this runoff, turning a problem into a resource.
A rain garden is essentially a shallow depression in your yard, strategically placed to collect rainwater from a roof, driveway, or other hard surface. It’s filled with a mix of gravel, sand, and compost to promote drainage and planted with water-loving native plants. During a storm, the garden fills with water, which then slowly percolates into the ground over 24-48 hours, filtering pollutants and recharging groundwater. The plants in the center, like Cardinal Flower (Lobelia cardinalis) or Swamp Milkweed (Asclepias incarnata), are chosen for their ability to handle “wet feet,” while plants on the drier edges, like Black-eyed Susan (Rudbeckia hirta), are more drought-tolerant.
The impact of this approach on water conservation can be staggering. While this example is from the US, the principle is universal: a documented case study from Audubon Rockies shows a neighbourhood that implemented native plant landscaping, including rain gardens, reduced its annual water usage by 15 million gallons. Installing a rain garden transforms your property from a simple consumer of water into an active participant in managing the local water cycle, representing the pinnacle of systemic resilience. Furthermore, many Canadian municipalities, including Toronto, Vancouver, and Edmonton, offer significant financial rebates (from $500 to $2000) to homeowners who install them, making it a wise investment for both your property and the environment.
By shifting your perspective from maintaining a lawn to managing an ecological asset, you unlock a host of benefits. Your yard can become a system that saves you money, reduces your workload, supports local biodiversity, and actively contributes to a healthier environment. To begin this transformation, the next logical step is to assess your own property and develop a phased plan based on these principles.